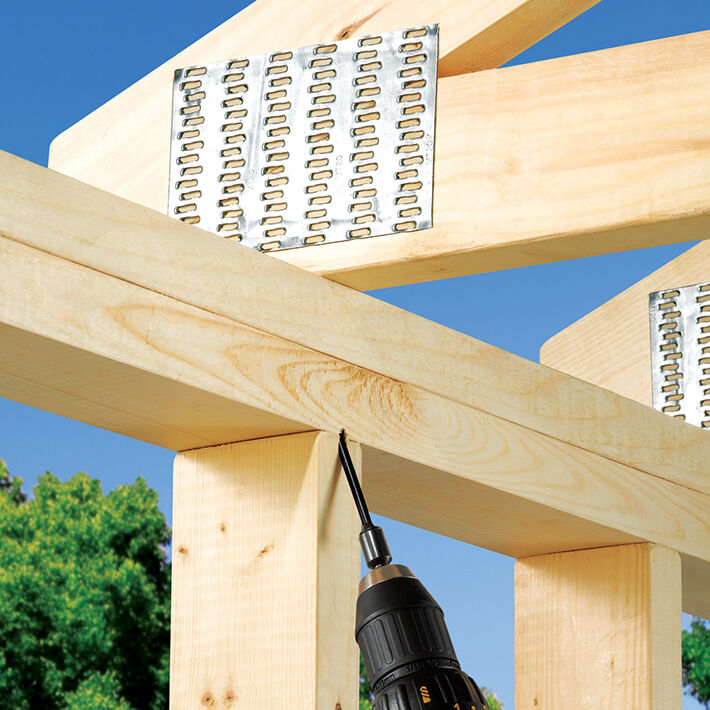
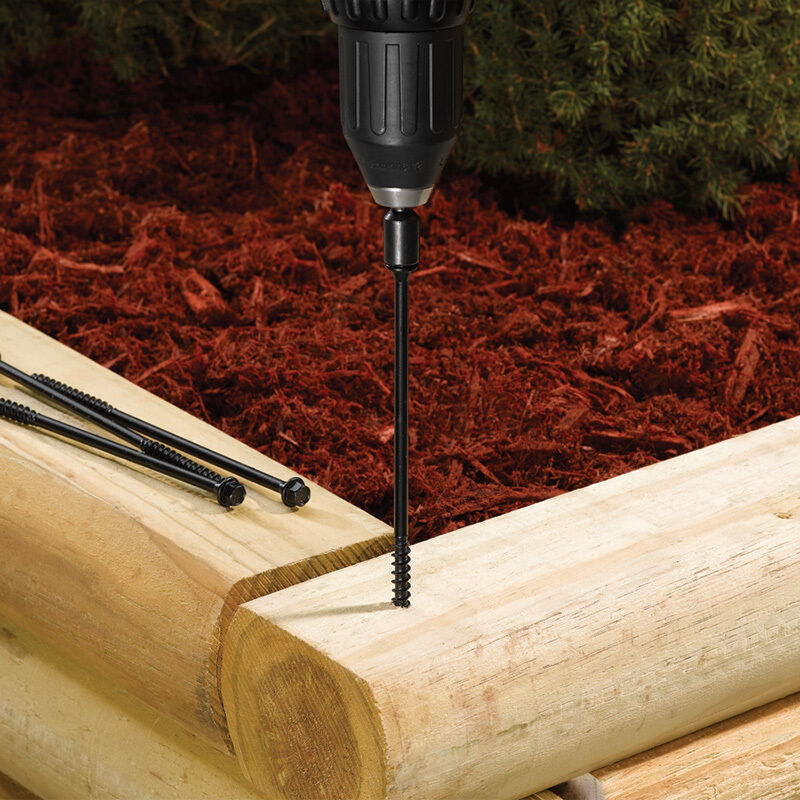
TimberLOK screws are an efficient, strong, reliable alternative to hurricane clips, which are the traditional tool for attaching trusses and rafters to top plates. By eliminating the need for multiple nails, TimberLOK fasteners can provide a firm grip in less time, all while meeting meticulous building codes and standards.
Installation of TimberLOK screws requires precision and attention. The screw needs to be driven at just the right angle for effective long-term performance and to provide the right grip between the truss and the top plate.
As we’ll demonstrate, installation is easy thanks to the TimberLOK installation guide!
Using the Timberlok Installation Guide
To help with installation, FastenMaster offers the installation guide, a simple tool that fits with the top plate to make sure the screw is driven at the proper angle. Using the installation guide is easy, but to understand the benefits of the guide, it helps to step back and look at the TimberLOK structural wood screw.
About TimberLOK
TimberLOK is a long screw that drives through the top plate and into the truss or rafter. It delivers a strong, code-compliant connection in mere seconds. These screws install in a fraction of the time compared to other clips and bolts. It has a sharp point at the tip of the screw, with aggressive threading that digs quickly into the wood. It can easily handle the toughest, densest wood on any job site.
TimberLOK is currently available in 2−1÷2”, 4”, 6”, 8”, and 10” screws. The 2−1÷2” option can be used to double 2x headers or carrying beams, while the 4” TimberLOK is typically used for attaching 2x and 4X structures. The 6” option typically replaces hurricane ties on rafters and trusses.
The larger options can be used for many different applications, but are typically used for landscaping walls (8” screws) and post or beam construction (10” screws).
Installing TimberLOK with the Installation Guide
To install TimberLOK screws on a truss to top plate connection, simply place the 6” TimberLOK into the magnetic channel, which holds the screw firmly in place. The screw should be placed so the tip is at or just inside the end of the channel. (The tip should not be protruding, but the back of the screw will stick out.)
Now, align the guide with the edge of the rafter or truss so that the screw is directly under the roof material. Take your drill and drive the screw forward. Drive the screw about an inch to ensure it’s entering at the right angle, then remove the guide. Now finish driving the screw until it digs into the rafter or truss and pulls the material together.
FastenMaster offers a FREE TimberLOK installation guide. To have your guide sent out, visit FastenMaster.com or give us a call at 800−518−3569.
The Fasteners You Need for Efficient, Code-Compliant Performance
FastenMaster has a wide variety of screws and clips that allow you to work quicker and better than ever before.
Whether you focus on remodeling, deck building, or new construction, we have innovative fasteners perfect for any project!


