Transform your outdoor space into a seamless, elegant area with FastenMaster Tiger Claw TC‑G Hidden Fastening Clips. This guide is tailored for both builders and DIY enthusiasts that are eager to achieve a perfect deck without visible screws or nails.
Understanding the Basics of Composite Decking Installation
Why Composite Decking?
Composite decking is a superior choice for those seeking durability and low maintenance. Its resistance to fading, staining, scratching, and mold, combined with the environmental benefits from using recycled materials, makes it an excellent option for your decking needs.
The Role of Hidden Fasteners
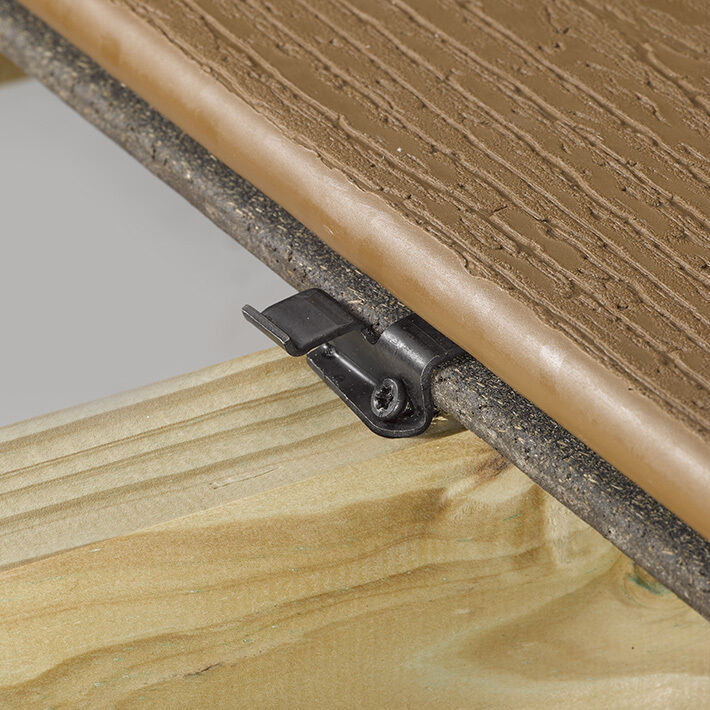
Learning how to install composite decking with hidden fasteners can be a challenge. However, FastenMaster Tiger Claw TC‑G clips make it much easier. They help ensure a smooth deck surface, free of screw heads or nails to enhance both the aesthetic and structural integrity of the deck by providing consistent spacing for expansion and contraction.
Tools and Materials You’ll Need
For a successful installation, you’ll need:
A drill for hand installation or a FastenMaster TC‑G Pneumatic Installation Gun for faster work
A circular saw, tape measure, hammer, and safety glasses
Composite decking boards and the FastenMaster TC‑G system, which includes hidden fastening clips compatible with the FastenMaster Installation Gun.
Preparing The Deck Frame
Ensure a Solid Foundation
Start with a sturdy frame and ensure that the joists are spaced correctly as per your decking material’s specifications. Protect your structure against moisture with joist tape to add an extra layer of durability.
Layout Planning for Grooved Composite Decking
When planning the layout of your grooved composite deck, a meticulous approach not only minimizes waste, it also helps create an aesthetically pleasing finish. Here’s how to refine your layout planning:
Board Orientation and Durability
Align decking boards to run perpendicular to the primary house view for visual appeal and efficient water runoff. This orientation also contributes to the deck’s durability by directing water away from the structure.
Utilize Breaker Boards
Integrate breaker boards into your design to disrupt continuous seam lines that will enhance both the deck’s structural integrity and visual appeal. They can be strategically placed to create patterns or define areas within the deck, such as dining spaces or lounging areas.
Strategic Seam Placement
Plan seams in less noticeable areas or incorporate them into your design as a feature. Consider the deck’s layout in relation to fixed elements like furniture or planters that can be used to conceal or distract from seams.
Optimize Board Lengths
Choose board lengths that reduce cuts and limit waste by arranging your layout to make the most of standard board sizes. Drafting a detailed plan can help you purchase the most efficient combination of board lengths.
Expansion and Contraction Gaps
Account for the necessary spacing between boards to accommodate expansion and contraction due to temperature changes. Ensure that gaps are consistent for a uniform look, and follow the manufacturer’s recommendations for spacing based on your deck’s specific exposure conditions.
Plan for Accessories
From the outset, consider how deck accessories like railings, benches, lighting, and planters will integrate with grooved decking. These elements can affect the overall layout and may require specific fastening solutions compatible with grooved boards.
By incorporating these considerations into your layout planning, you can achieve a deck that is not only visually appealing but also built to make the most of your composite decking materials.
Quick Step-by-Step Installation Guide for Deck Clips
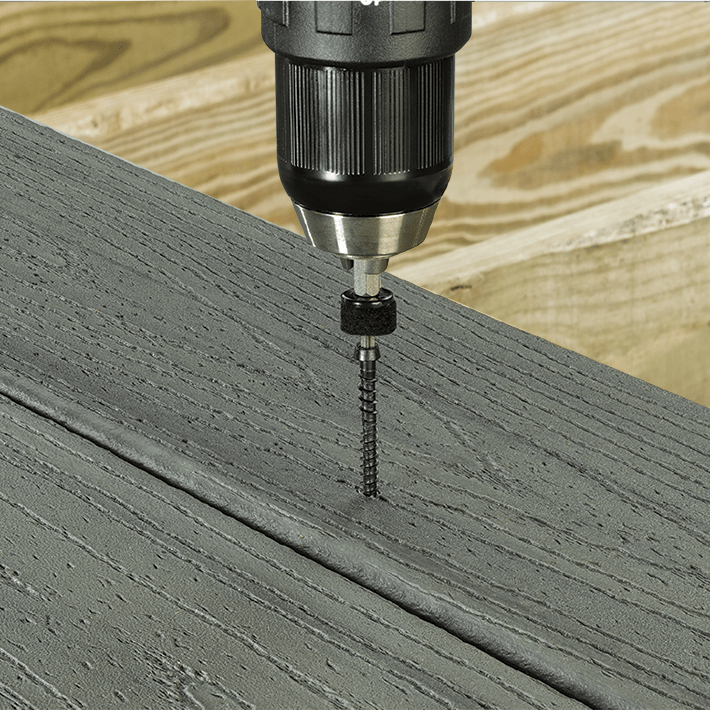
1. First Board Installation: Secure your initial board at each joist with a 2½” deck screw and Cortex Hidden Fastener Plug, and make sure that it’s straight and firmly attached.
2. Position the Fasteners: While applying pressure, insert a screw at a 45° angle through the fastener into the joist and ensure that the fastener is perpendicular to the deck board.
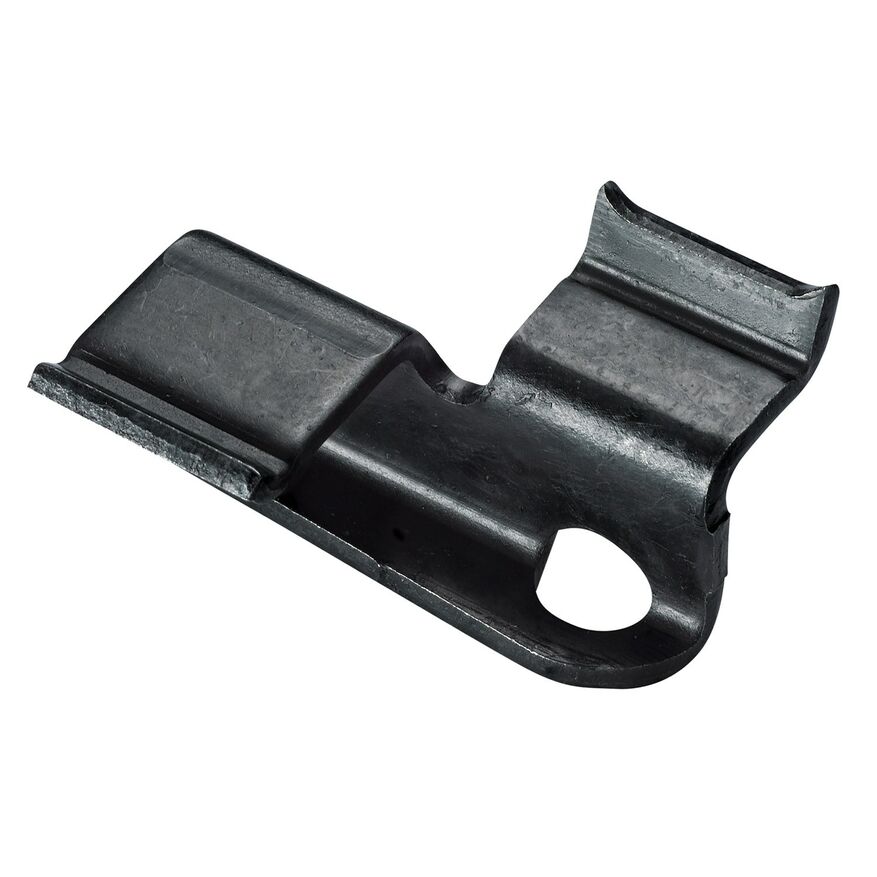
3. Install the Fasteners: Slide the TC‑G or TC-120 fastener into the groove of the deck board and align it with the center of the joist. Tilt the next board slightly to engage the clips and press down until fully seated.
4. Repeat and Complete: Continue these steps for each board, and maintain consistent spacing until the deck is complete.
5. Finishing Touches: For the final board, use finish nails along its edge. Complete with the Cortex Hidden Fastening System, covering all screws with the plugs.
Safety First
Always prioritize safety by wearing protective eyewear and carefully handling all components during installation.
Managing Butt Seams
For butt seams:
1. Determine the Seam Location: Identify the joist where the seam will occur for precise clip placement.
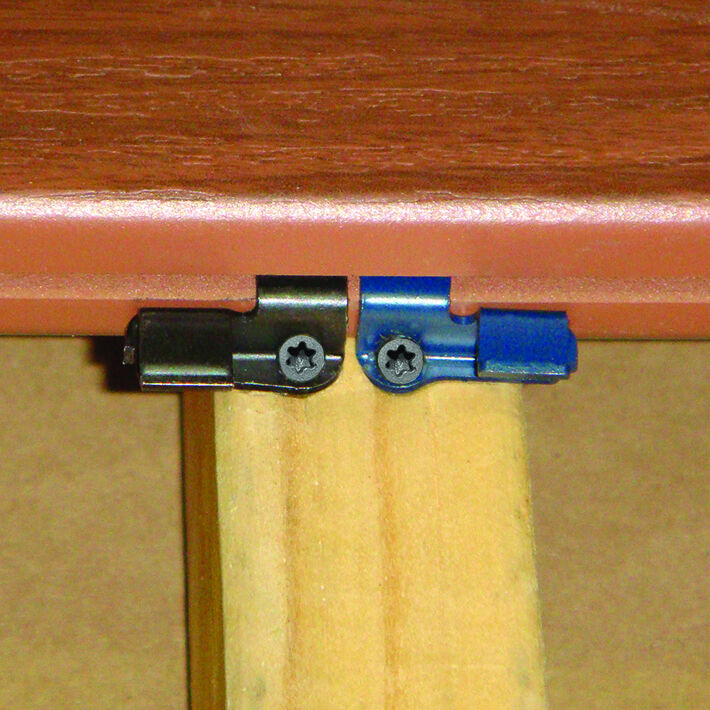
2. Install Clips for Seam: Use a Tiger Claw TC‑G Butt Seam Clip fastener with a dedicated butt seam clip and maintain a quarter-inch gap for optimal spacing.
3. Secure the Fasteners: Attach the fasteners and clips into the deck board groove and secure them at a 45-degree angle.
4. Align and Install the Next Board: Ensure that the board fits snugly into the installed clips for a smooth, continuous surface.
Maintaining Your Composite Deck: Post-Installation Care
To keep your deck in great shape, it’s important to perform regular maintenance. Clean your composite decking periodically using soap and water to maintain its fresh appearance. Once a year, inspect the deck for any loose clips or boards and tighten or replace them as needed. Remember, following regular care and maintenance routines can significantly extend the lifespan of your deck.
FastenMaster Deck Clips: Simplify Your Deck Installation
Use FastenMaster Tiger Claw TC‑G Hidden Fastening Clips for a secure, screw-free deck surface. Our clips simplify deck installation for both professionals and DIY enthusiasts.
Contact us today for more details on how to use these clips in your next decking project!


